Before going into the SOLR server, make sure you have installed Java in your windows machine.
1) Open the command prompt and run this command “java -version”, if you see the below screen you are ready to install the SOLR server on your machine.
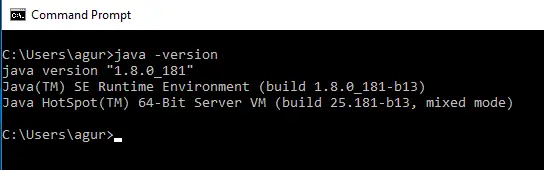
In case if you don’t have the Java and JRE installed in your machine, go to the below link and install the latest version (at least Java8)
https://www.oracle.com/technetwork/java/javase/downloads/jre8-downloads-2133155.html
Once you are done with the above step, let’s see how to install the SOLR in your windows machine.
First, download the latest version of SOLR from the below link:
https://archive.apache.org/dist/lucene/solr/
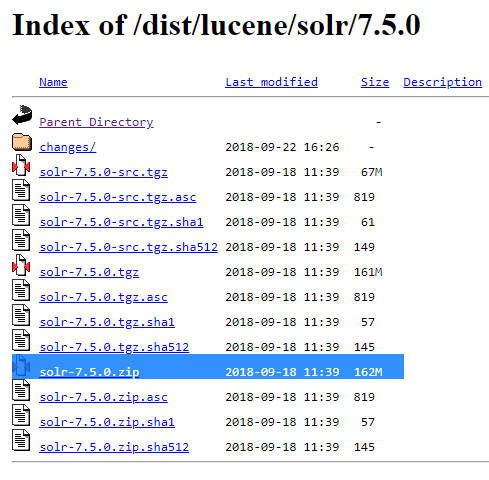
As of OCT 2018, the latest version of SOLR is 7.5.0, so I am going to download the zip version (solr-7.5.1.zip) from the below link:
https://archive.apache.org/dist/lucene/solr/7.5.0/
After you download the latest version of solr, unzip anywhere in your machine, I am going to create a folder called “solr7.5” in C drive and unzip the files there.
Once done, open the command prompt go to the folder where you extracted the files, in my case c:/solr7.5/bin folder and run this command to start the SOLR server “solr start”
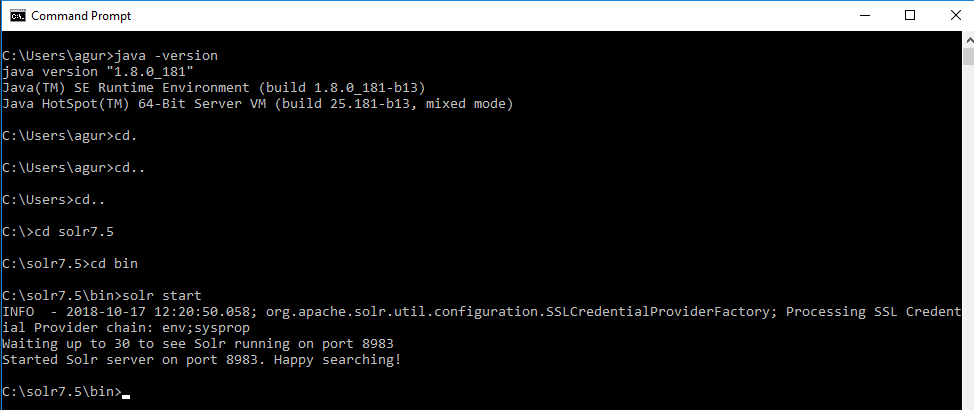
You can see the SOLR server has started in the port 8983 in the above screen shot.
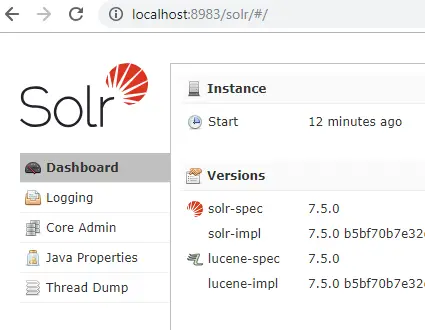
Open any browser and hit https://localhost:8983 to access the SOLR server

That’s all guys. See you later!