If you are new to Drupal 9 and wondering how to create a simple REST API, this is the right place to learn about it. You can create a REST API in multiple ways, but the one I am going to show you in this post is the simplest method.
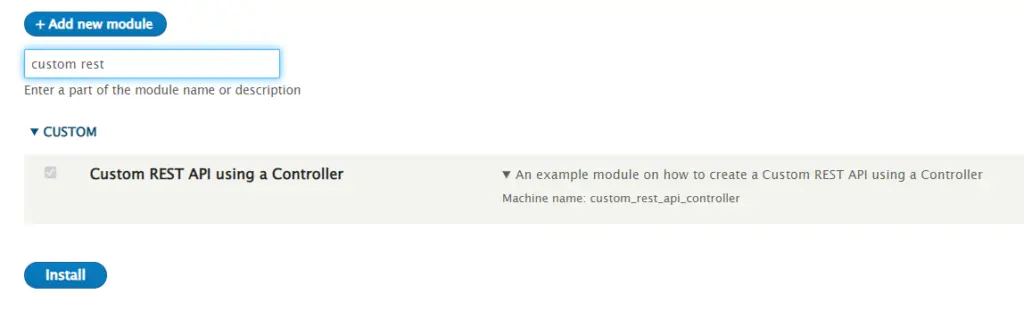
First, we need to create a module. So Let’s start. Create a folder name as “custom_rest_api_controller” and create an info file in it, as shown below:
custom_rest_api_controller.info.yml
name: Custom REST API using a Controller
description: An example module on how to create a Custom REST API using a Controller
core_version_requirement: ^8 || ^9
type: module
package: Custom
Now we have a module ready, let’s write a Controller now. We need to have a routing.yml file for this.
custom_rest_api_controller.routing.yml
custom_rest_api_controller.rest_api_get:
  path: /my_rest_api/get_data
  defaults:
    _controller: Drupal\custom_rest_api_controller\Controller\MyRestController::getData
  methods: ['GET']
  requirements:
    _user_is_logged_in: 'TRUE'
  options:
    _auth: ['basic_auth']

custom_rest_api_controller.rest_api_post:
  path: /my_rest_api/post_data
  defaults:
    _controller: Drupal\custom_rest_api_controller\Controller\MyRestController::postData
  methods: ['POST']
  requirements:
    _user_is_logged_in: 'TRUE'
  options:
    _auth: ['basic_auth']
If you see the above file, I have created two routes and I had set POST and GET methods as well. So basically, the POST method is to store data and the GET method is to fetch the Stored data. Also, you can notice properties such as “options” and “_auth“, these are useful to enable Authentication for our routes.
Now we have our Routing.yml file ready, let’s create a Controller Class and this should go under the path “src/Controller/MyRestController.php“. So we need to create two folders “src” and “Controller” and then create a file under that.
MyRestController.php
<?php

namespace Drupal\custom_rest_api_controller\Controller;

use Drupal\Component\Serialization\Json;
use Drupal\Core\Controller\ControllerBase;
use Symfony\Component\HttpFoundation\JsonResponse;
use Symfony\Component\HttpFoundation\Request;

class MyRestController extends ControllerBase {

    public function getData() {

        //get the configuration
        $config = \Drupal::config('custom_rest_api_controller.settings');

        //get the stored name or return default
        $name = $config->get('name') ? : 'no name stored yet';

        //return the response
        $res['name'] = $name;
        return new JsonResponse($res);
    }

    public function postData(Request $req) {

        //decode the json data
        $data = Json::decode($req->getContent());

        //check if the name property is present or not
        if ( !isset($data['name']) ){
            //return the error response
            $res['error_code'] = 404;
            $res['error_msg'] = 'name property is missing, cannot store the configuration';
        } else {

            //if the name property is present in the json data, store in a drupal configuration
            $config = \Drupal::service('config.factory')->getEditable('custom_rest_api_controller.settings');
            $config->set('name', $data['name'])->save();

            //return the success response
            $res['result'] = 'Hello '.$data['name'].'! You name stored successfully!';
        }

        return new JsonResponse($res);
    }

}
There are two methods in our Controller, getData() to get the stored data and postData() to store the data in a Drupal config variable. Just go through the above lines of code and the comments in it to understand the logic.
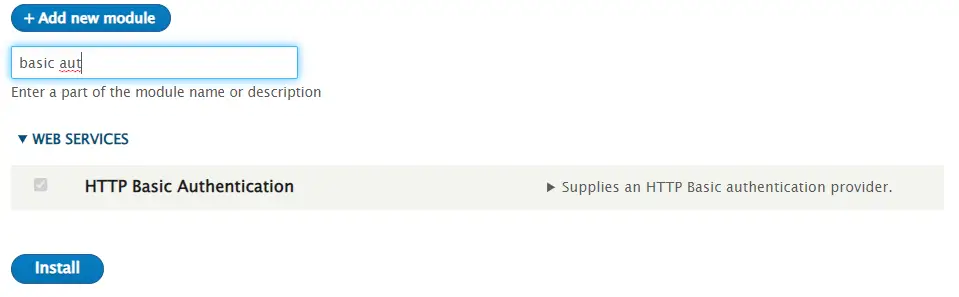
Now we have everything ready, let’s enable this module, also since we are using “_auth: [‘basic_auth’]” as authentication for our REST API, we need to enable the “HTTP Basic Authentication” module as well. See the screenshot below:
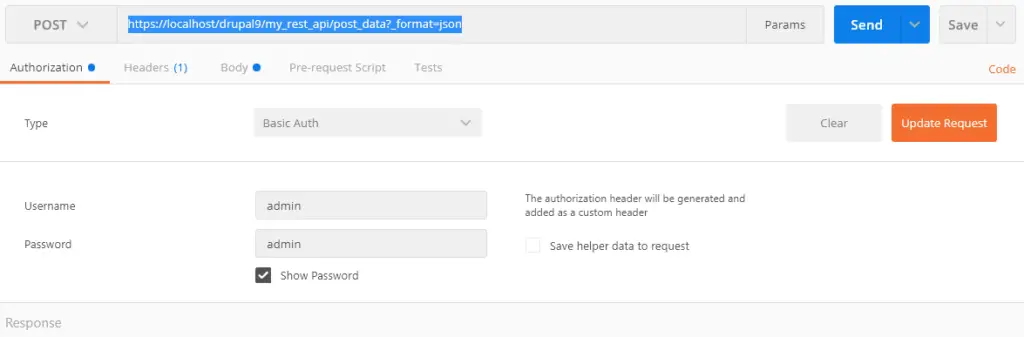
Everything is set, Let’s test the APIs now. We can POSTMAN Chrome extension to test our REST APIs.
I have this Drupal 9 instance in my “Localhost” so the URL is something like this for me
https://localhost/drupal9/my_rest_api/post_data?_format=json
Don’t forget to add the “_format” query param after the URL otherwise we may see unexpected behavior. Since we are using “Basic Authentication“, let’s add them to the Postman under the “Authorization” tab. The username and password are nothing but the Drupal username and password. Make sure you have selected the “POST” method in the tool since our API “method” is POST.
Now move to the “Body” tab and put this JSON object and hit the “Send” button.
{
  name: "agurchand"
}
The below screenshot shows what should be there in the “Body” tab, and also it shows what will be the response once you send the POST request by clicking the “Send” button.
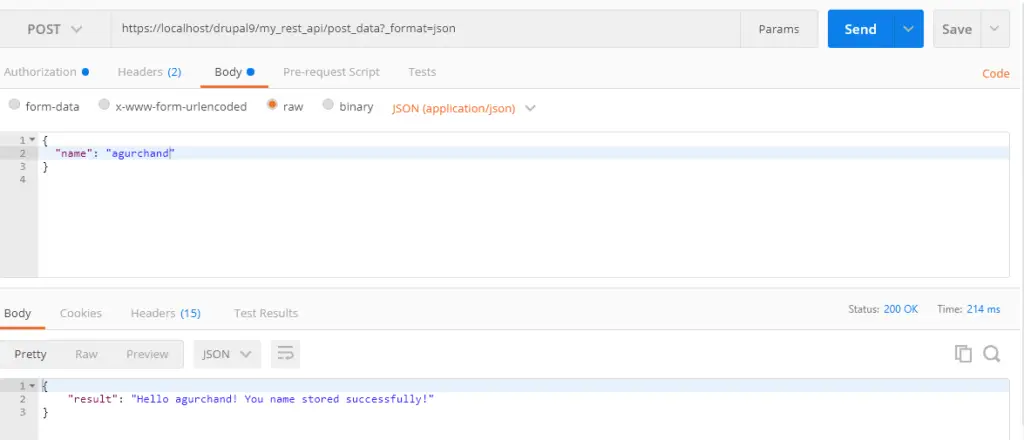
Now the “name” value is stored in our custom configuration drupal variable “custom_rest_api_controller.settings“.
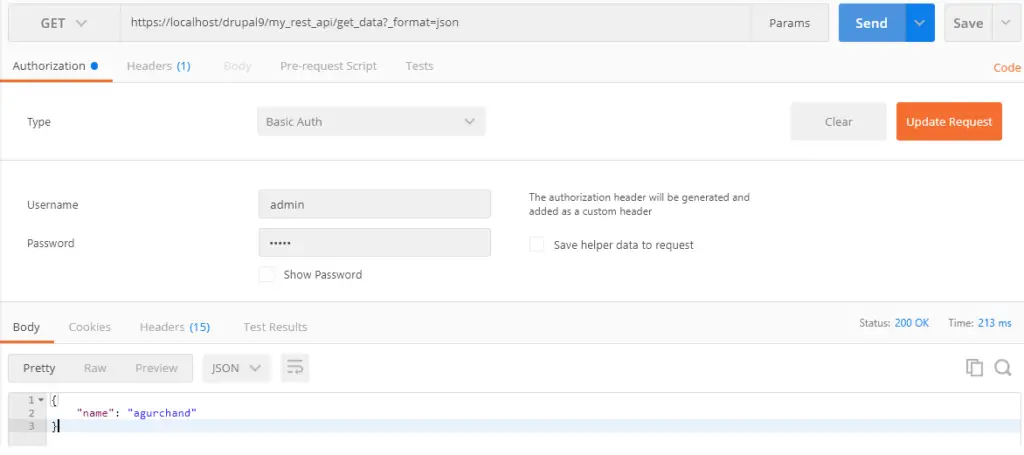
Let’s fetch the data by using the GET method and the “get_data“ API. This below is our “get_data” URL,
https://localhost/drupal9/my_rest_api/get_data?_format=json
Don’t forget to add the username and password under the “Authentication” tab and select the method as “GET“. Here is the screen showing the response of our get_data API
Hope this helped you to understand how to create a REST API using a Controller in Drupal 9.
You can download this custom module from my repository. Just install as a regular custom module and test the module to understand it thoroughly.
